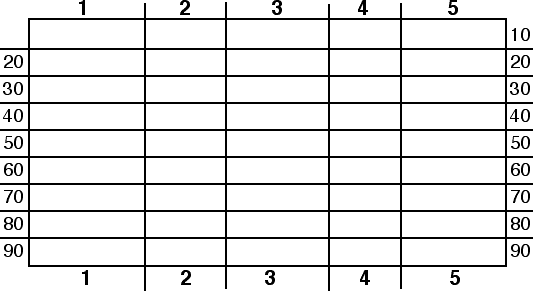
First, make a grid, using a spreadsheet such as Excel.
Next, number the columns and the rows, on top and bottom and left & right sides. These will be your coordinates (just like on a map). I sometimes use only three columns, but in this case, I've used as many as five.
You don't want to have more, I've found, or else when you reduce the grid down to wrist size, the numbers will be hard to read.)
Notice that after I used single-digit numbers for the columns, I used double-digit numbers along the sides. It is essential to use completely different labelling for the columns and for the rows, so that no matter what order you say them in (for example, "20-4" or "4-20"), any pair of coordinates refer to only one location on the grid.

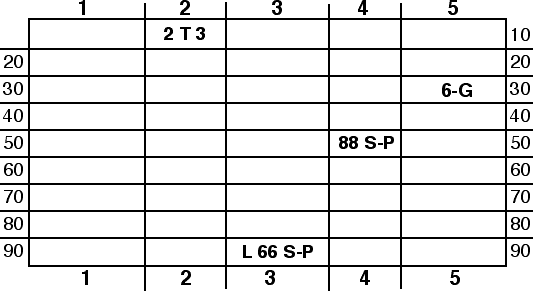
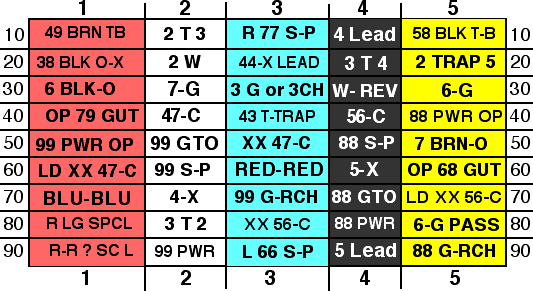
Next, enter the play names/numbers in the grid by pasting or typing them in. You might even enter bread-and-butter plays (88 Super Power comes to mind) more than once, to eliminate the (very slight) possibility of opponents breaking your code (fat chance).
As you enter the play numbers on the grid, enter the play and its coordinates on a separate sheet which you'll use as your Master Play Caller.
You really don't need to clutter up your grid with specialty plays that you may only run one time - if at all. There are other ways to call them.
IMPORTANT: because I might run the same play from different formations, or with different types of motion, I normally don't enter any formation or motion in the cell. (I give that info to the quarterback when I give him the coordinates.)

Next, you might color the columns - Red, White, Blue, Black, Yellow in this case. This adds to your coding possibilities ("Yellow 30," for example, means the same thing as "5-30", or "30-5" - or 6-G). As you get clever at this, you might even go so far as to enter 1st down plays in column 1, 2nd down plays in column 2, etc.
Once you have your grid made, it's time to reduce the image to wrist-coach size, print it on card stock and cut it to size. Now, it's time to make the wrist-bands.
*TIP: MAKE LAZER COPIES ONLY - IF YOU USE A DOT-MATRIX OR INK JET PRINTER, OR A COPIER THAT USES TONER, MOISTURE MAY MAKE THE INK RUN, AND THE WRIST BAND WILL BE IMPOSSIBLE TO READ!